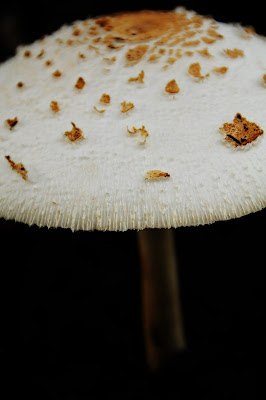
BEFORE

I'm not sure why. Maybe it's because we have become accustomed to high-definition images. Maybe it has something to do with digital cameras. Whatever it is, your images can be improved greatly simply by increasing contrast.
I became a fan of Ansel Adams work when I purchased my first SLR. His Zone System caused me to become aware of the vast range of tonal values visible and of the limitations of representing that range within a photograph. He was methodical both with the camera and in the darkroom to ensure he had a broad range of tones in each of his images.
Today,
 the kind of careful attention Ansel Adams gave to each of his images can be achieved by, first and most importantly, working diligently to capture the best image possible. There is too often the temptation to take a sub-par image and then crop and Photoshop it to death. Work to create a good image and then you can adjust it in Photoshop, much as Ansel Adams would have done in his darkroom.
For this mushroom (which was conveniently growing in our front yard), I adjusted it with one simple Photoshop tool: Curves. I created a Curves Adjustment Layer and brought the highlights up and the shadows down ever so slightly. The Curves adjustment in Photoshop allows you to ensure that your highlights are bright and your shadows are deep while not losing important detail. That's it. That's all I did. No secrets. No formulas. Try it for yourself.
AFTER
 Read about Ansel Adams


